

This post contains affiliate links.
When it first appeared on the market, the Shellac infused a big confusion about whether it is a gel or regular nail polish. The truth is that Shellac is a hybrid – a perfect combination of features of both of them.
Because it only comprises the best of both techniques, there might be some similarities between the Shellac and the regular nail polish. Still, on the other hand, there are significantly more differences.
The Shellac is more durable than the regular nail polish, and it requires the use of a UV or LED lamp to set on the nails. It can offer more protection, and it can last longer compared to regular nail polish. Both of them cannot cause any damage if they are properly applied and removed.
To fully understand the difference between the regular nail polish and the Shellac, stick with me until the end of this article, where I will explain everything in detail.
Table of Contents
What Are Shellac and Regular Nail Polish Key Differences?
Don’t let the looks trick you! Although the Shellac and regular nail polish may seem to be identical when you look at them from the outside, the formula itself is very different. The Shellac is a unique product made by a company called CND – Creative Nail Design. It is the first product that combines features from regular nail polish and gel.

Because in the very base the Shellac is a gel, there are many differences between the Shellac and the regular nail polish, starting from the application to the removal.
Method of Drying
As many of us are used to, regular nail polish needs some time to “breathe” and dry. Because it is air-dried, regular nail polish may require a lot of time to set on the nails, depending on the quality of the polish you are using.
Because this is one of the reasons women don’t prefer the regular nail polish, to solve this issue, some manufacturers have produced nail polishes that are fast-drying, meaning they will need around one minute to dry.
Another solution to this problem is a top coat that is supposed to dry the regular nail polish super fast (under one minute). And there are some other tricks women have perfected during the years, like putting your nails under running water or just blowing at them to help them dry faster.

The issue with this type of drying is that while you wait for the nail polish to set, you may damage it and smudge it, and believe me, I know how frustrating that can be.
To fix any smudges, you will have to remove all layers of nail polish from the affected nail and reapply them. Because many women don’t have patience for this, they prefer some other types of manicures.
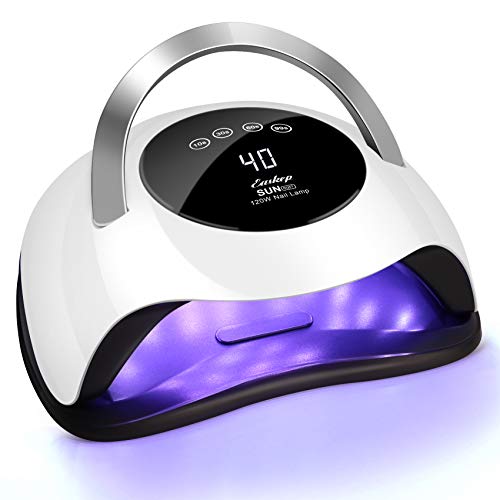
The Shellac is supposed to fix this problem because it needs a lamp to be cured, so it can properly set on the nails. Even base coat and top coat require a UV or LED lamp, and that is why the Shellac is often confused with the gel itself.
If you leave the Shellac to air dry, it will never set properly on the nails, and the manicure would not be usable. Because it is gel-based, the Shellac needs a lamp to cure.
Application
The process of application of regular nail polish and the Shellac is very different. Regular nail polish can be just painted in one layer and you are good to go. The Shellac requires a few more extra steps.
To prolong the regular nail polish duration, many women try to use a base and a top coat. And in between, they usually apply one or two layers of nail polish and leave it to air dry.
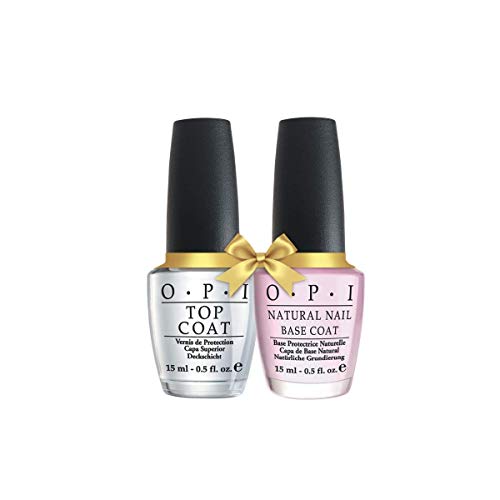
The Shellac requires preparation before you start the application. In order to properly prepare the nails, you must clean and wipe all the excess oils and dirt from your hands, push the cuticles to their base, and file and shape the nails in the form you want.
If you don’t do the shaping in this phase, later on, you will not be able to fix this. The Shellac may have some properties of the gel, but it is not able to reshape and change the length of your nails.
Many women are not aware of this, but just as how you cannot change the shape and length when you use regular nail polish, you also cannot do that with the Shellac.
After you finish forming the shape, proceed to the application of a base coat. The base coat will act as a glue between the Shellac and your natural nails. If you want the Shellac to set properly on the nails, the base coat should not be avoided.
The base coat needs to be cured under a UV or LED lamp and only after that, you can proceed with painting the nails with the Shellac. Apply the Shellac in one or two layers, if you consider that one layer is not enough.
Just make sure to cure each layer long enough, before you proceed