This post contains affiliate links.
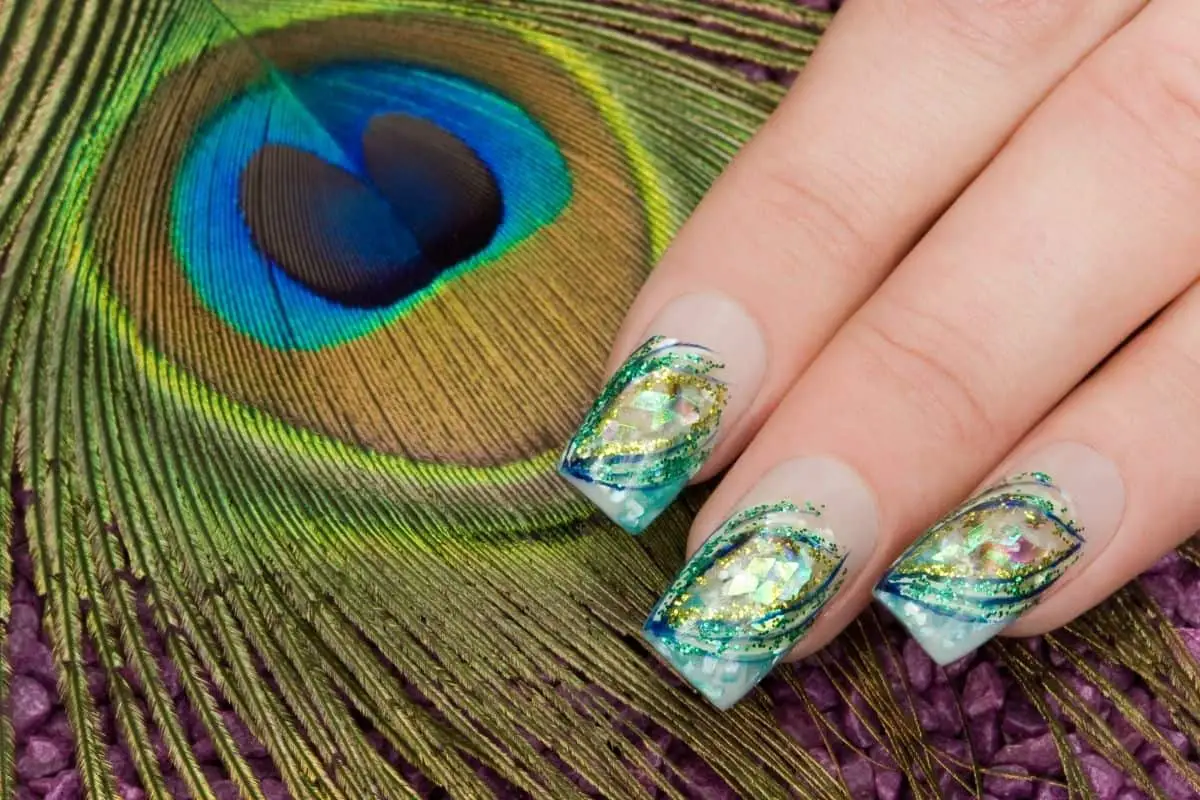
Do you want to get more stylish with your nails? Well, you can do that now with the latest trend without having to break the bank. The trendy fluid nail art allows you to try out your favorite colors on your nails without having to pay much. You can even do this latest trending nail art design from the comfort of your home.
Fluid nail art is a pretty easy technique. All you need to do is mix nail polish paint with silicon. After mixing them together, drip or pour the paint mixture over a silicone mat to mold it into a decal before application. Alternatively, you can apply the paint directly over your nails.
In this detailed guide, we’ve shared an outline of what exactly fluid nail art is. The guide covers all the basics of the nail art concept – explaining in detail how to do fluid nail art. Furthermore, the guide shares simple how-to examples for the nail art design.
Ultimately, this step-by-step guide helps to answer the question that may be swarming your mind such as how do you make and apply fluid nail art?
Table of Contents
What Is Fluid Nail Design?
Fluid nail design is the latest trend used by nail techs and artists. Inspired by fluid art, fluid nail design works on the same principles. Fluid art incorporates the pouring of different paints onto a canvas to create a unique piece of artwork.
Typically, this artistic concept uses acrylic paint that has a more liquid consistency compared to traditional acrylic paint. To make fluid art, an artist uses acrylic paints, acrylic medium, and water.
Fluid nail art functions in the same manner and follows the same principles. The only difference is that it uses human skin and nail-friendly chemicals and tools. With a fluid nail design, nail paint is mixed with silicone.
After that, the mixture is dripped or poured over a silicone mat to mold it into a decal before application. Alternatively, you can apply the paint directly over your nails. Typically, artistic nail art can be quite complicated and confusing to do on your own at home. This is quite the opposite with fluid nail design.
Applying this nail art design, you don’t have to worry about the intricate and complicated nail art designs you see on other nail art designs. With the fluid art concept, you only follow a simple step of mixing the colors you want to reveal a colorful and aesthetically pleasing design.
Plus, this simple nail art application requires minimal maintenance and can be done once every week.
Why Does Fluid Nail Design Follow Its Prep Step?
As mentioned above, fluid nail art design involves mixing nail acrylic paint and silicone. There’s a reason why silicone is mixed with the paint. Silicone is extremely effective at stopping the paint from mixing. As the paint doesn’t mix, this mechanism helps to achieve the unique fluid nail art.
This is because as you pour over different paint colors and mix them with the silicone, small paint color cells form instead of mixing. Think of this scenario as when you pour oil and water on a plastic surface. Since the water and oil don’t mix, small insoluble droplets form instead.
In this case, these droplets will create little cells of colors in organic forms – following the painting movement. Nonetheless, you must know that whilst the principle remains the same, you can still use different tools to make fluid nail art.
Many different techniques exist in making fluid nail art. In fact, you can use normal nail polish or use specialized nail polish. For example, you can use a topcoat from any brand and pair it with regular nail polish options.
But, to get the best design, you want to go for regular nail polish. Opt for nail polish designed to separate and create the typical fluid nail art cells.
How To Make Fluid Nail Art At home
As stated above, Fluid nail art is simply made by mixing nail paints with silicon. Yet, whilst this is a standard principle, there are many techniques for making fluid nail art.
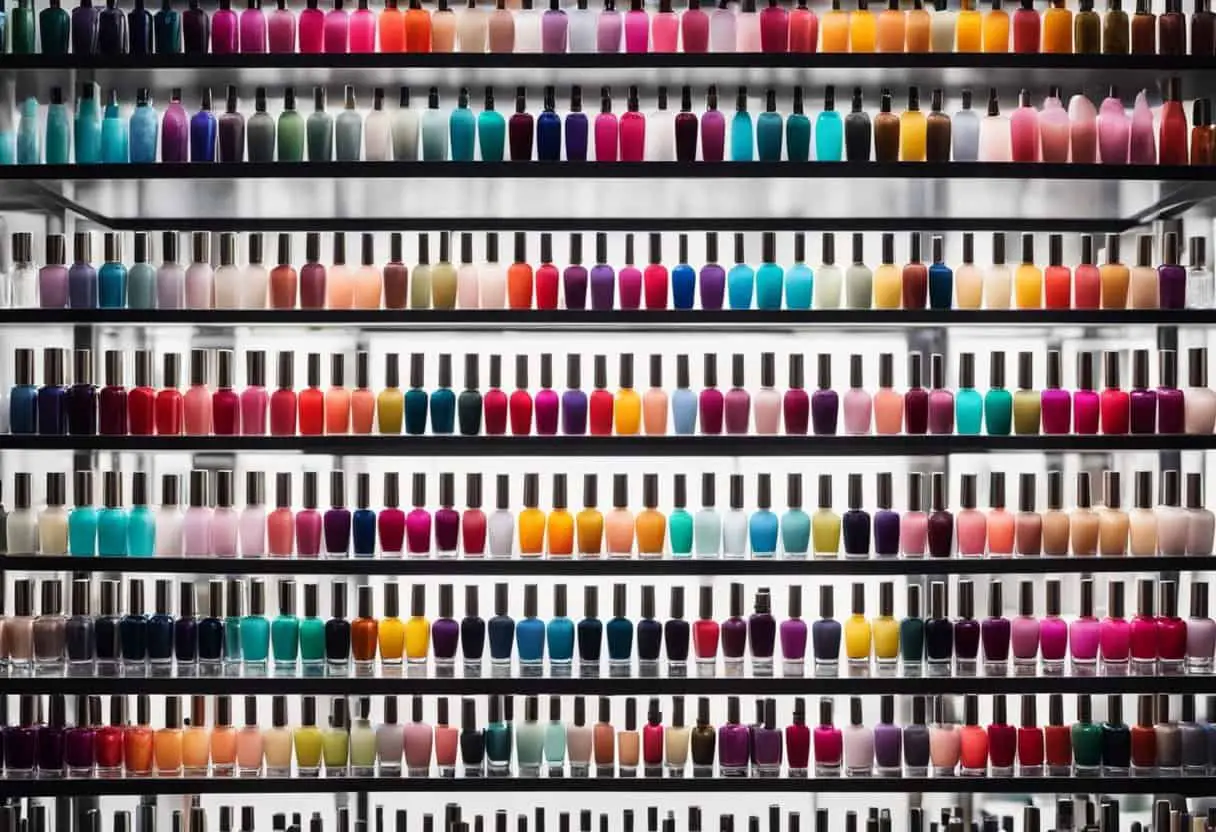
The techniques focus on the type of nail polish and color to achieve the design you want. There’s a myriad of fluid nail art you can try out. In fact, you can even design your own fluid nail art patterns. Some nail artists can mix up to 6 different paint colors. But, to prevent creating a mess, it is advised to use no more than two colors if you are a beginner.
To make fluid nail art, you will need the following primary tools. After putting together these tools, you can then add secondary tools based on the designs you want.
- Basecoat
- French tips
- At least 3 or 4 nail polish colors
- Silicone mat or aluminum foil
- Silicone tool or angled flat brush
- Topcoat

Examples Of Fluid Nail Art
As mentioned above, you can choose or even create your very own technique for doing fluid nail art at home. However, the principles for this nail art concept remain the same.
Below, we’ve shared examples of fluid nail art you can make by yourself from the comfort of your home. These design examples feature simple, yet, stylish patterns to make them perfect even for beginners.
Example 1
For this example, you will need to use a nail coat and French tips. You also need a mix of four nail polishes, a silicone tool, a cleanup brush, and a nail top coat such as Seche Vite. For the nail coat, you can use a nail protein coat such as the Nailtiques Nail Protein.
The Nailtiques formula helps to protect your nails underneath. For the nail polish, you can mix up a range of regular nail polish (including one holographic nail polish). Holographic nail polish is slightly different from regular polish. This type of nail polish integrates a special pigment made from aluminum and magnesium fluoride.
The pigment in the nail polish boasts incredible light refracting abilities. The refractive abilities help to refract light to give off holographic properties. Added to the fluid nail art mixture, it creates an attractive design. For a beginner, mixing different colors may be a little difficult.
This is because you may find it confusing to choose colors that match well. So, in this case, we’ve recommended colors for you. You can use a base of white or black and mix it with different shades of pink, dark purple, and lilac. For nail polish, you can opt for brands such as ILNP, Sinful Colors, and Hansen.
To make and apply the fluid nail design, follow the steps below;
- Start by applying the nail coat on a coat of French Tips (you can use white-colored tips or a color close to the mixture you want to make).
- Line the four nail polishes together and open them up for use.
- Prep your nail application area by placing a silicone nail art mat (if you can’t afford it, use aluminum foil).
- On the mat or aluminum foil, place two drops of each nail polish. You will then, apply the nail polish to your nails from the mat or foil. You want to avoid applying paint straight from their bottles. This is because doing so will not result in the paints blending the same way.
- Using the silicone tool, scoop up each nail polish and let the paint flow across your nail. Typically, the two drops of nail polish will serve about two fingernails or a single thumbnail. If you don’t have a silicone tool, you can use any firm and flat angled brush as an alternative. However, if you use a brush, you want to also clean it as you go. You can use a nail polish remover or acetone to clean off the paint from the brush as you go.
- To create an even more unique design, you can twist and move your nails. Furthermore, to ensure proper application, angle and move your nails to help you direct the flow of the paint. Doing this also makes it easy to identify the areas that need extra paint. After applying the nail polish, you will notice that the nail polish creates a thick coat than it would if applied with a nail polish brush. So, after the application, give it some time to dry and settle.
- As you continue to apply the nail polishes, clean as you go because it is easier to remove the paint when it’s still wet.
- The last step is to apply the top coat after the nail polish has dried.

Example 2
This second example involves using light nail lacquer colors such as pink, lime, and black cream. To create the cell designs on the nails, you can use a DIY spotted nail polish.
Furthermore, to make stable colors for the art, you can use silicone-based hair serum. Add about a quarter of the serum with three-quarters of the clear nail polish and shake them well. Using clear nail polish allows you to pair the mixture with any nail polish color.
For this example, follow the steps below;
- Apply a nail coat on a coat of white French Tips
- Line the three nail polishes together and open them up for use.
- Place a silicone nail art mat or aluminum foil under your hands.
- On the mat or aluminum foil, place two drops of each nail polish. Using the silicone tool, scoop up each nail polish and let the paint flow across your nail.
- Angle and move your nails to help you direct the flow of the paint so you know where to add more paint. Let the paint dry.
- To create the small cell designs, dot the cream black cream color alone. Then, add two dots of the clear polish and serum mixture on top of the black cream dots. After adding the mixture, fold the two together once or twice. When they have dried apply them on the nails as if you were applying decals.
- To apply the cell decals on the nails, apply some base coat on the mat and dip the decals on the base coat to make them sticky. Using a cuticle pusher, add the decal on the edge of the nail and cut the decal around the edge. If you are an experienced nail tech, you can use acetone to cut out the decals around the edge. Acetone is not recommended for beginners as it can get messy.
- Once done, apply the top coat and you will be done.
")
Example 3
Alternatively, you can try this example. For this example, you will add nail polish on a mat or foil just like the previous examples. But, instead of mixing the colors directly on your nails, you will, first, mix them on the mat.
You will then let them dry out into a decal and apply them to your nails. This method is also known as the peel-off decal method. For this method, you can use light and dark color mixtures such as white, orange, dark blue, and lilac. Try nail polish such as the Transforming colors. Follow the steps below;
- Start by applying the nail coat on a coat of French Tips (you can opt for white or cleat colored tips)
- Line the four nail polishes together and one by one, pour small quantities (2 to 3 drops) of each nail polish on a silicone mat or aluminum foil in a random or overlapping pattern.
- Quickly fold the colors together to mix them. You will notice the distinct color patterns as they mix. After mixing the paint colors, let them rest and dry to form decals.
- When dried, cut them out, lightly dip them on a base coat to make them sticky, and apply them to your nails.
- You can add extra details such as nail stamps using stamping plates. However, this step is optional.
- Once done, apply the top coat and your nail art will be ready.
if you like to create stamps on your nails I have written an article about nail stamps and how to do it here: How to Make Nail Decals with a Stamper (5 Easy Steps)
Example 4
As you get more used to the art, you can try more complex methods. For this method, you will use the usual tools. These include different nail polish colors. Other tools include silicone mat, silicone nail art brushes, nail polish clean up brushes, nail polish remover, and nail polish remover cup. Many experienced nail artists prefer to use cream polish.
In this case, you can mix a wide range of nail polish patterns, designs, and colors. You can opt for flaked colors, multi-chrome colors, glitter colors, and holographic colors. For this method, you can choose to use either the peel off decal or paint directly on the nails methods.
Start by applying a latex peel off cuticle guard to make clean up easier
- Then, apply the nail coat on a coat of French Tips (you can opt for white or clear colored tips)
- Prepare the nail polish you want to use by lining them together on the mat. Pour small quantities (2 to 3 drops) of each nail polish. You can pair as many as five different nail colors. For the best results, use all cream colors.
- Start by first applying a base color you choose from the color lineup. Using the nail art brush, begin to paint the patterns you want on your nails.
- As you continue to apply the nail polish, use the nail polish remover to clean the brush as you go. Pour the nail polish remover into a tiny container and dip the nail art brush to clean up the edges. When done, wipe the brush with a paper towel and continue using it.
- Alternatively, if you want to go for the decals options, you prepare the nails and mix them with a silicone and clear nail polish mixture. Drip down drops of the mixture and add a nail color drop on top of the mixtures.
- Quickly fold the colors together to mix them. You can use the nail art brush to create the intricate designs you want, and then, let the designs dry to form decals.
- After the decals have dried, cut them out, dip them on a base coat to make them sticky, and apply them to your nails.
- Once done, apply the top coat and your nail art will be ready.
Conclusion
With fluid nail art, decorating your nails has never been easy. With this trending nail art concept, there’s no reason why you need to leave the house with bland nails! After all, the concept offers a myriad of different techniques to adorn your nails with art.
You can choose a more detailed technique or make colorful decals with your favorite colors and then, stick them on your nails! The only limitation to fluid nail art is that the polish tends to quickly break or chip away due to the thick coat. Sure, you will enjoy the brilliant designs, but, you will have to make the art at least every week.
Sources
MakeupRestart.com is a participant in the Amazon Services LLC Associates Program, an affiliate advertising program designed to provide a means for sites to earn advertising fees by advertising and linking to Amazon.com. We also participate in other affiliate programs which compensate us for referring traffic.
Leave a Reply