This post contains affiliate links.
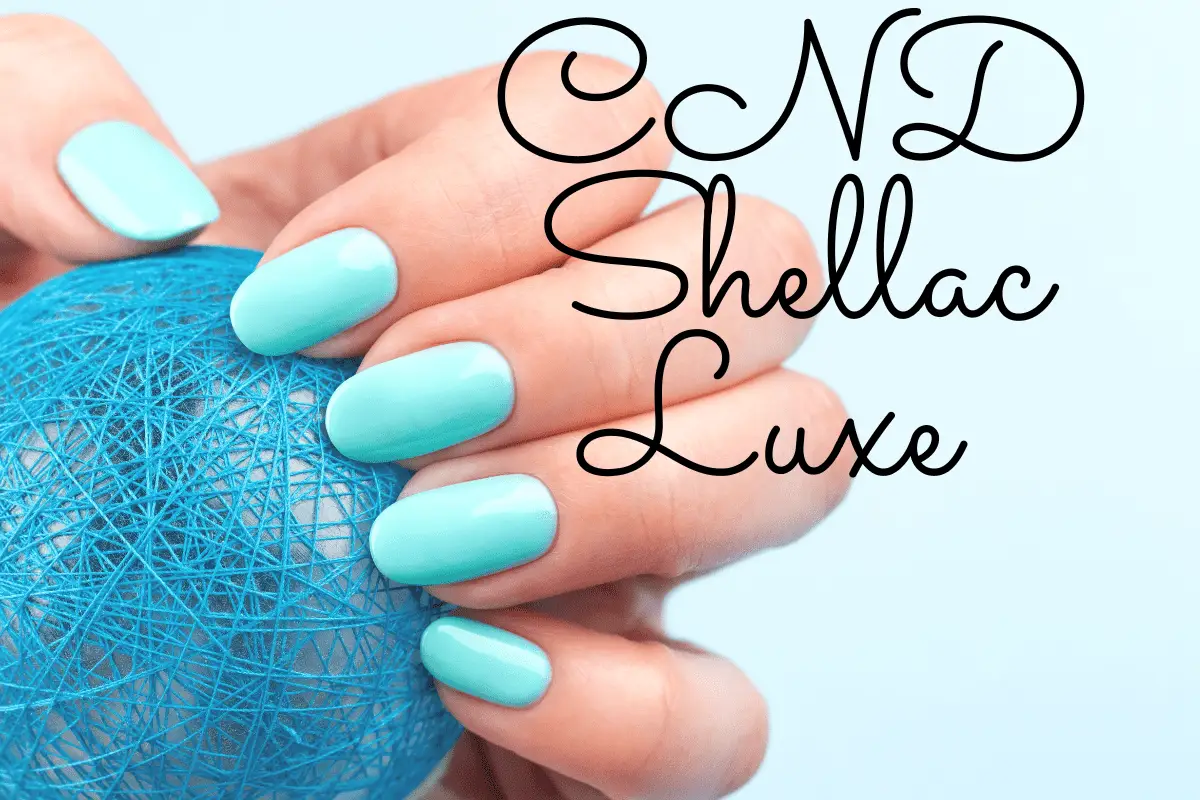
It’s not uncommon to hear many people talk about how they would love to have their nails done, but they just don’t have the time, and if you’re like this too, then no one can blame you because there are quite a lot of steps involved in getting the perfect manicure. But what if I told you there was a nail polish that lessens the time you spend on those fingernails? I’ll walk you through how to use the CND Shellac Luxe.
The CND Shellac Luxe is applied by using the 2-in-1 base and color formula as both the base layer and the color layer. Simply add a thin layer for the base coat, then add another thin layer for the colored coat. All you will need to do afterward is to add a topcoat.
First, I’ll give you a bit more information on the creation of the Shellac Luxe brand, then explain how they are different from the original Shellac nails as well as other nail styles. We will also look at how to apply and remove this polish. Lastly, we’ll look at a few nail care and safety tips and then let you know which of these styles is better for you.
Table of Contents
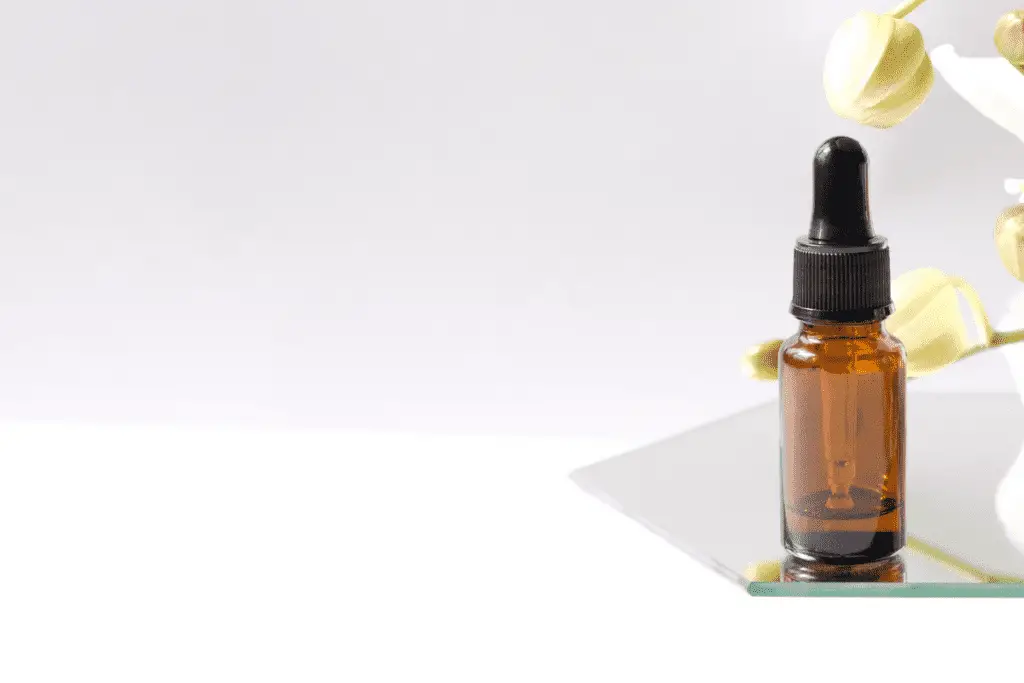
Creative Nail Design Shellac Luxe
The CND Shellac Luxe brings a bit of innovation to the nail polish industry as it introduces a two-step gel polish system:
- An all-in-one base and color coat and;
- A high gloss topcoat.
Shellac nails, which are patented by the company, give us a unique blend of gel polish and regular nail polish, offering the best of both worlds of both nail types.
Shellac gets its name from the shellac bug, an insect that has its secretions harvested because of its varnish properties. Its substance is fluid when heat is applied but as it comes to room temperature, it hardens into a shiny glaze. For this reason, it is often included in furniture varnish products, confectionaries, and of course gel polish.
As I mentioned before, the product offers the best of both worlds. If you’re like me who love how long-lasting, and easy to dry gel nails are but dread the day you have to remove them because their removal process is tedious and difficult then this is the product for you. The gel properties of the formula lend durability to your manicure as well as a sleek professional finish while the regular nail polish properties make it easier for the polish to be removed from nails.
Having a Shellac CND manicure requires a bit of commitment, but often, the benefits offset the investment. However, there’s no denying that the time and dedication to getting a gel manicure every two weeks can be frustrating at times. There’s the removal process, plus application time, and then there’s the worry of damage, mainly if misapplied.
However, that is all about to change with the introduction of CND Shellac Luxe, which is the fastest professional nail polish treatment available.
This new formula has a unique chemical structure that allows liquids such as cuticle oil and gel polish remover to penetrate faster than the original Shellac system. It also means that nails are healthy and robust, and Luxe is more nail-friendly. The formula also feels thinner, and after being one of the first to try it, I can attest you don’t even feel that way.
Marian Newman, the industry’s leading nail expert, explains: “The formula is so impressive, it works like nail polish, so it feels sheer and doesn’t feel like you’re putting on any gel that a lot of people might prefer. It’s also good for your nails. For me, taking care of your nails is very important, and CND Shellac Luxe offers that.
I think in time, classic Shellac wearers will want to wear Luxe because it ticks every box”.
Let’s take a closer look at how Shellac is different from Gel Nails, then how Shellac nails differ from the Shellac Luxe.
.")
How Are Shellac Nails Different From Gel Nails?
The contrasts between these two nail types are thin, yet have a major impact on your general nail treatment experience.
Essentially gel nails use a semi-permanent gel to color your nails, whereas shellac nails use semi-permanent polish. There are also nearly triple the number of color options for gel nails than shellac nails, but there are still plenty of shades to choose from for either.
The removal process is one of the biggest things that sets a shellac manicure apart from other gels or gel polish. When acetone-based remover is applied, the coating breaks into tiny pieces and releases from the nail,” allowing for a seamless removal.
In turn, this makes gel manicure removal different from Shellac removal. Gel removal is somewhat more complex than Shellac due to the structure of the formula. Because it is thicker, it takes longer to remove.
Shellac is a thinner paint so that the eraser can penetrate it faster. With the gel, it can take up to 50 minutes to clear. Moreover, for bonds that will break for the gel, you have to file it first and then soak your nails in acetone.
In comparison, Shellac is only covered in acetone caps and takes 15 minutes to remove.
Difference Between Shellac And Shellac Luxe
Application
How to Apply Shellac
Firstly, if you have any gel from previous polishing on your nails, you need to have those removed. Make sure to carefully and properly push back your cuticles, this will allow your nails to have a wide enough surface for your shellac polish to be placed as well as helps prevent you from getting the bonder underneath your cuticles. Bonders are damaging to cuticles, so it’s best to avoid having them exposed to the substance.
You will need a bit of a textured surface for both the bonder and the gel polish to stick to. So, ensure to buff your nails. Ensure your buffer is of 200 or higher grit.
 (Purple)")
If you frequently polish your nails, it’s best to avoid over buffing nails that were buffed previously. Avoid this by trying to mainly buff the new growth. Repeated buffing of nails can make them weak and brittle.
Plus, buffing too much can cause your gel to lift as well. You just need enough of a textured service.
Alternatively, you can use rubbing alcohol to remove the grease from your nails. This step cannot be avoided. The oils from your skin easily get onto your nail surface and will ruin the finish of your polish and it will not last long either.
Your nails need to be dehydrated which the nail bonder also covers. So, if you used the nail bonder you have already covered this step. If you did not use a bonder in the previous step, you can use acetone here to dry the nails out.
Ensure it is 100% acetone. Let your nails sit for a little before moving to the next step.
If you have not used the nail bonder up to this point, you will use it here. The nail bonder will seep into the grits you made from buffing in the earlier step and both harden your nail as well as make it adhesive enough for your coats to stick to it.
You’ve finally reached the step where you apply your gel base. Once you’ve applied it while carefully avoiding your cuticles, you will need to place your hand either in a LED Lamp or UV Lamp. The LED Lamp will work quicker than the UV Lamp.
I would recommend using the LED because it gives you less exposure to UV rays.
Either way, you cannot avoid this step. Your bonder and your nail base both have chemicals in their formulas that need to be cured by the UV light for them to harden.
Next, choose your favorite gel color and paint your nails. Once you’ve painted them, place them once again under the LED or UV Lamp. Apply further coats as needed and repeat the curing process between coats.

Next, apply your topcoat then cure once again. Afterward, wipe your nails once again with some alcohol to remove that extra film that forms on top of your nails during the curing process.
Remember when we dehydrated our nails? That’s neither good for your nails or skin, so you need to rehydrate. Apply some cuticle oil around the edges of your finished nails. Moisturize accordingly.
How To Apply Shellac Luxe
This is the best part about the Shellac Luxe. You basically get to cut your nail appointment time in half as it removes some of the steps from how you would usually apply Shellac Nails. Instead of having to apply a base coat separate from your polish color, the Luxe designs offer both functions in a single formula.
A base coat step is usually included as it gives your nail polish color a proper layer to adhere to so that your manicure will last longer. But the new Shellac Luxe offers optimal adherence with fewer steps to the manicure procedure.
After performing all the preparations for doing your nails that we previously mentioned, shake to blend the Luxe formula. Apply and cure the Shellac Base Coat, by giving all five of your nails a thin layer. Afterward, you will repeat the same process on the other hand.
Next, you will apply a second layer of the same polish, cure, then apply a topcoat.
Removal
How To Remove Shellac
It’s continually going to be ideal to go to a salon to have your gels or Shellacs broke up by an ace. In the event that you would like to do it at home, in any case, realize that since shellac is clean, it’s simpler to eliminate than gel and kinder to your nails as you don’t need to buff your nail plate to ‘break’ the bond.
When you remove gel nail varnish, you file the top layer off and then soak your nails in acetone, but you simply soak in acetone when you remove shellac nails. For a quicker removal, you can soak some cotton in acetone then wrap them around your nails with foil. This shouldn’t take more than 5 minutes.
Pro tip: cover the skin around your nails in Vaseline before to stop it from drying out from the remover.
")
How To Remove Shellac Luxe
CND promises that their Shellac Luxe can be removed in a matter of 60 seconds. When you are ready to remove Shellac Luxe, thoroughly moisten a cotton CND Foil Remover Wraps with Offaly Fast. Starting with the little finger, place the pad on the nail and tightly wrap the ten fingers.
Set the timer for 60 seconds. Press firmly on the top of each nail, massage, and twist the wrap away from the nail while wrapping the product in the wrapper. Gently remove any remaining product with an orange wooden stick.
Remove residue using a lint-free base backed in plastic or a stiff manicure brush moistened with Offaly Fast.
Color Choices
The color selection is also quite varied. For Shellac, there are only 132 shades available and even less of a selection for the Shellac Luxe which comes to 65 shades. But for Gelish, there are 388 shades available.
It’s a pretty big difference and, frankly, pretty much game-changing because choosing colors is the most important part of a manicure!
If you’re looking for diversity in color choices, Gel nails may be the better option for you. However, the colors available on the Shellac Nails are quite attractive, so much so that it would be worth the limitations to give them a try.
Here are some of the colors you can expect from the Shellac Luxe brand.
Luxe For Every Season
For interesting fall colors, you can try shades such as Mambo Beat, Lobster Roll, and Brick Knit. These colors are so warm and rich in pigment that they might just blend in with the beautifully colored leaves that are falling from the trees around this time. These colors are also perfect for outfits with warm undertones.
Your summer colors may come in the form of Tutti Frutti, Grapefruit Sparkle, and Pink Bikini. Even the names of these colors remind you of the zest of summer! These colors aren’t as warm as the fall colors but they are definitely more playful and just a tad bolder. You can almost hear summer calling with these shades.

Cooler colors like Aqua-intance, Blue Eyeshadow, and Fedora are not only suitable for your winter look but are suitable for those who have a preference for darker undertones when they need a professional, formal look. These colors are also great choices for matching with a wider variety of colors. They are just the colors you need to complete any look.
In comes Palm Deco and Dark Dahlia for the springtime. These colors remind you of the freshness of the season and give you the opportunity to match with those floral prints we love so much.
Moisturizing Methods
In all honesty, leaving acetone on your skin and nails for that long doesn’t do them any favors. Acetone is very drying so it pulls the moisture from your skin. So once you’ve finished removing the SNS or Shellac from your nails, you have to focus on treating them so you can get your moisture back. Treating your nails and hands through a harsh process will rough them and will dull their natural beauty.
Applying Oil
Apply drops of cuticle oils made especially for nails and hands to both moisturize and seal moisture into your skin. If you received any damage from Shellac Luxe nails or any other nail types, you might want to increase the waiting time between nail appointments in order to give your nails time to heal themselves.
Moisturizers And Butters
Shea Butters and Cocoa Butters give a great deal of moisture to the skin with added minerals. You can use these daily, in order to retain your skin’s moisture so that acetones and polishes don’t have as much of a damaging effect on your hands and nails.

Shellac vs Acrylic vs. Gel: Which Is Better
Acrylics, lacquers, and gels are buzz words that have been circulating in the nail industry for a minute now, and if you want to up your nail game, you better get used to them as soon as possible. Many people are well aware of each term and often choose their preferences when ordering a manicure without knowing the most suitable endorsement for the occasion.
Gel
While acrylic may be the more popular choice, the gel was the first to enter the beauty industry and has been a field of interest ever since. There are also different gels, but we will be dealing with hard gels and soft gels.
The hard gel comes in a sticky consistency and can be artificially placed on top of your natural nail to conform to its current shape, is extended, and is the strongest of the three. It can also be made as desired or buffed before being placed in a UV light to dry. The hard gel is applied with a brush and can only be removed by scraping it off.
On the other hand, soft gels are applied like nail polish and cannot be used to lengthen nails. It lasts longer than regular nail polish and can be removed with acetone. It is less likely to damage your natural nails than hard gels unless forcibly removed without acetone.
To guarantee a hassle-free removal, go to the salon to get them taken out by the masters, But given that this removes 60 minutes from your day and expenses around a tenner, a lot of individuals like to DIY it.
First off, you need to break the bond between the gel and your actual nail. Buff the nails gently. This will break the gel’s seal. Then, cut out ten bits of cotton cushion, one for each nail, and absorb acetone nail stain remover.
Next, cut out ten pieces of tin foil. Pop each cotton pad piece on top of a nail, then cover with one tin foil piece, twisting at the top.
Acrylic
To form acrylic polymer powder and liquid monomer are carefully mixed and applied to the nails. They are usually placed over cured acrylic extensions. Acrylic dries when exposed to air, so this has to be worked on very quickly.
Again, improper removal can damage the nail bed, so it’s best to go to a professional for this. This type of manicure also produces a strong chemical fragrance, so the room should be well ventilated.
Hard Gel, on the other hand, will not lift, but the formula is more difficult to remove, so it is quite time-consuming, especially since it cannot be removed with acetone. The soft gel bond also needs to be broken entirely, but the rest can be removed with acetone once this is done. Shellac doesn’t take long to remove, but it still lasts a little longer than acrylic and requires acetone.
It is healthier for the nails and offers a more natural finish. Since you don’t have to wait for the shellac and gel to dry, the finishing process is quite simple.
Are Shellac Luxe Nails Safe?
Shellac received immense popularity due to the gel process which gets dry in seconds. This coupled with the fact that CND advertised it saying that no damage or harm is caused to the client’s nails during the application process.

From a health point of view, Shellac Luxe Nails avoids as many harmful components as it can when manufactured. As Shellac Luxe uses UV lights to harden the formula, there is much concern about how safe it is to expose UV rays to hands.
If you attempt to dry your shellac nails without UV light, then you will find that it takes hours and the finish will not be great because the polish wasn’t actually cured. A component in the gel, which we will talk about later, needs light for the gel inside the shellac to harden. Therefore, being exposed to natural light not specifically directed at the nails will take a longer time.
While it is necessary to use UV rays in the drying process, there are ways you can reduce the amount of exposure you experience.
Sunscreen
Apply sunscreen 20 – 30 minutes before your nail appointment. Sunscreen will help reduce your exposure to the UV rays in the lamps just as much as it protects us from the sun. Ensure that your sunscreen is at least SPF 30 as it blocks ninety percent of the sun’s UVB rays.
")
Wearing Fingerless Gloves
While you can’t avoid having to put your nails under the lamp if you’re using Shellac or SNS, you can still reduce the amount of overall exposure your hand experiences. You can do this by wearing fingerless gloves under the lamp so that only your fingers are exposed to the rays.
LED Lamp
As I mentioned before, LED lamps to harden the nail formulas quicker than UV lights. This means you spend far less time under the lamp which means less exposure to UV rays.
Shellac turnouts to avoid any harm to the client’s nails are affected by acrylics sometimes.
The SNS procedure is relatively good for health as the dipping powder step in SNS is fortified with at least 4 vitamins in it, and also contains main minerals and calcium.
Here is more infromation obaou CND Shellac and the UV light.
Which Is Better for You?
That is of course left for you to determine based on the advantages, disadvantages, applying, and removal methods that we’ve discussed. It is suitable for people that the drying time for Shellac nails isn’t much while others may think it’s not worth the risk of using UV rays to harden nail mixtures. Acrylics don’t use UV rays but at the same time, they have their own chemical hazards.
Gel names are harder to remove but based on your preferences you might appreciate that they are more durable than Shellac. None is necessarily better than the other. One can be more suitable based on a person’s preferences and circumstances. However, you can measure these pros and cons against the types of nails you desire in order to find out which is better for you.
Conclusion
Now that you’ve learned everything about the CND Shellac Luxe you might see why it’s a better option than the Shellac and maybe some of the other nail types out there. The CND lessens both the time of application and drastically reduces the soak off time to a mere 60 seconds, so if you’re the type that doesn’t like the idea of going to the salon and sitting around for long periods to have them soaked off then this product is definitely for you.
Sources:
MakeupRestart.com is a participant in the Amazon Services LLC Associates Program, an affiliate advertising program designed to provide a means for sites to earn advertising fees by advertising and linking to Amazon.com. We also participate in other affiliate programs which compensate us for referring traffic.