This post contains affiliate links.
Whether you’re a novice or a professional, one thing we’ve all faced is having bubbles in our manicures. While it may be an irritating experience that seems almost impossible to avoid, I’ll be taking you through methods to correct your mistakes as well as prevent them. This guide will show you how to fix bubbles in Gel Nails.
Bubbles in your nails mean that you have applied too thick of a layer to your gel nails. You can correct this by using a thinning agent to reduce the amount of gel that is on the layer. You can then even out the remaining gel on the nails with a clean nail polish brush and cure it before applying another thin layer.
In this guide, I will show you how to fix bubbles in gel nails and how to prevent them from happening in the first place. You will learn techniques in applying gel nails so that bubbles don’t ruin your manicure. Afterward, we will touch on tips to improve the quality of your manicure.
Things To Go Over If You’re Applying Gel Nails For The First Time
With any new venture comes challenges and if you are anything like me, gel nails have been quite the challenge. Bi-weekly manicures can become expensive, and it seems like nails grow back entirely too fast when you don’t need them to. There’s nothing worse than seeing that ungodly gap between your last manicure and the new nail growth.
So, like any rational human being, we try to do it ourselves right? I mean it’s not that hard.
After careful hours of base, color, and topcoat, you’re all done and ready to go about your day. You look down and see those dreaded bubbles. Where did they come from?! Now the whole manicure looks horrendous. You did everything right. Or did you?
Let’s think back:
1. Prep
2. Basecoat
3. 2-3 coats of color
4. Basecoat
5. Done!
Okay, everything was done correctly but what’s wrong?!
When many people do their nails at home, they often forget one important step: polish thickness.
Let’s think back to regular nail polish. When you apply the polish thickly, it takes a long time to dry, leaving you with a smeared mess when you try to do any simple task. There isn’t much of a difference with Gel polish, except that you don’t have to spend hours waving your hands in the air wishing it would dry.
But if you don’t apply the coats properly you will be left with those dreaded air bubbles stuck between the layers of polish. Without the proper application method, a great manicure can turn into a disaster but don’t lose hope yet.
What Causes The Bubbles?
Okay, this isn’t rocket science, you see your nail tech do it every time, but every time you do it just never turns outright. There is no complex answer to why air bubbles happen. It’s simply because the gel has not fully cured in-between layers, so air rises to the top trying to escape.
Whenever a layer of nail polish is applied that is too thick it is difficult to dry properly. You proceed to apply layer after layer and each layer is continuously not drying properly leaving wet polish under your final product just waiting to ruin your day.
After the bubbles happen your nail polish may start to peel. Eventually, the air bubbles are going to escape, and when they do it causes the polish to start peeling until your entire manicure will strip.
Most people result in just peeling it, it is kind of satisfying honestly. However, don’t do this as peeling gel polish off your nails can leave them damaged.
How To Fix Bubbles In Gel Nails
In order to fix bubbles in gel nails, you will have to use some nail polish thinner to loosen the layer with the air bubbles. If you’re seeing air bubbles it means that air is trapped inside the gel nails. You have to loosen that layer so the air can escape by using thinner or even a small amount of acetone on your fingers, then even out the remaining gel on the nails.
Next, you will have to ensure the gel is properly cured before adding the next thin layer of paint.
Back To The Basics
Before going back to the drawing board and trying to re-apply your gel polish, it is important to understand just how gel nail polish and application work.
Gel nail polish may be easier to dry but there’s a lot more technique to it than you may think.
Although popularity boomed in the early 2000s, gel nails have been around since the 80s. Many nail manufacturers created this new polish that could be cured with UV lights. This was a grand idea however, the wrong combination of light intensity and polish either prevented the polish from drying or worse, physically hurt the clients by burning their fingers.
This wasn’t ideal for the nail industry, so they disappeared from the markets as quickly as they were introduced. Gel was not reintroduced to the nail industry until the 90s, and even then, it didn’t grow in popularity until around 2017 when everyone began raving about these nails that took a mere few seconds to dry.
So, you may be wondering why it took so long for the gel to regain popularity in the market. Just like the bubbles in your manicure happen because you don’t know the full application method, the industry still didn’t know the proper methods to pairing gel nail polish with curing lights.
The two did not complement each other as people didn’t know certain gel polishes needed certain nail lamps.
Gel polish contains a substance called photoinitiators. When paired with a UV or LED light it causes the nail polish to immediately harden and become a thin plastic. Not all gel polishes are made alike however and each one has different requirements about how much intensity it needs to dry.
Some gel polishes need a UV light, while others need a LED light. If you use the wrong type of light your manicure could turn for the worst. The wavelength of the UV light determines the intensity. This is why when you put your hands under the light of a UV or LED lamp you may feel a slight tingling or burning sensation when the light initially starts curing the polish.
Photoinitiators and UV Lights
At this point, you may be wondering what any of this has to do with how you paint your nails. To answer this, let’s go back to those photoinitiators for a second. Depending on the brand, color, and opaqueness of a polish some will need an extremely thin layer of polish or the photoinitiators will not be reached by the UV wavelengths of light, causing your polish not to have a proper reaction to the light, thus ruining your nails with an array of air bubbles between layers.
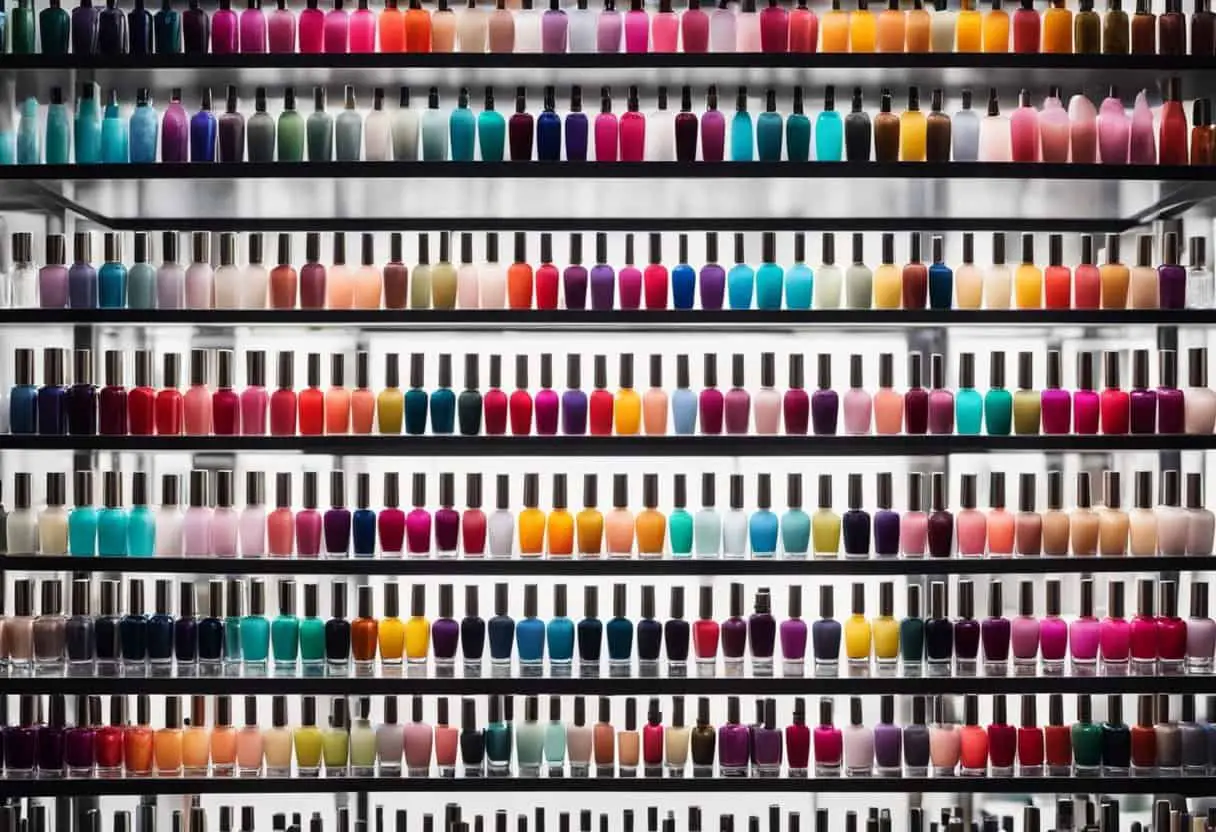
Choosing The Correct Nail Polish
Imagine you are browsing through clothes, and you come upon this amazing wine-red dress. The quality is amazing, and it complements your skin perfectly. It is the perfect evening gown for a night out with the ladies or your partner.
Best of all it is on sale for half off! You remember you have the perfect stiletto shoes that will go with the dress so naturally you immediately take the dress to the register and buy it. You rush home to find the shoes so you can see just how it looks.
You go straight for the stilettos and realize the stilettos are cherry red, not wine.
Now, this may be a mild exaggeration when talking about trying to find a nail lamp for your polish but nonetheless, it is wrong no matter how hard you try to make it work your nails are never going to look their best without that perfect match.
Since you aren’t a nail technician you’re most likely not going to go and research the nail polish you bought and figure out what lamp you need. Like any rational person, you’re going to grab the first thing you like (or the cheapest). You will have to invest in the proper products if you plan on doing your gel sets more often and not having to deal with those annoying bubbles.
Nowadays it’s more common for people to do their nails out of convenience, especially with the world traversing the inconveniences of a major pandemic that lasted a year and still isn’t over. Many people are content with doing a DIY mani in the comfort of their own homes. If this is you, it’s recommended you find a gel nail set that includes everything you need so that you don’t have to worry about buying the wrong polish and lamps separately.
If you’re not sure what you want there are many popular brands to look at such as
Many of these you can even find in your local store for purchase. If you want the full experience, it’s best to look online. There are some amazing kits out there.
Keep It In The Family
Now it isn’t as simple as going out and buying gel polishes and lamps. You not only need to know what lamp to buy to match your gel polish needs but you also need to use the same brand of polish when doing your manicure.
Just like no one lamp is made the same neither are polishes. Just like a person has different complexities about them, polishes are the same way. If you want the easiest experience doing your gel manicure, it’s best to buy everything from the same brand.
Doing this will ensure you the best results because the brand will use the same ingredients in their products. This isn’t something that you usually think about but mixing brands can also cause your manicure to become disastrous.
Imagine trying to mix sand with water. Although it may mix at first eventually the sand is going to separate from the water and stay at the bottom until it is stirred again. At the moment it may seem that your gel mani looks great, but had you used all products from the same brand instead of multiple, your mani may have lasted for 3 weeks instead of 1 ½.
Many brands encourage this as it will help with the longevity of your manicure. Additionally, research about what brand you will be choosing as well.

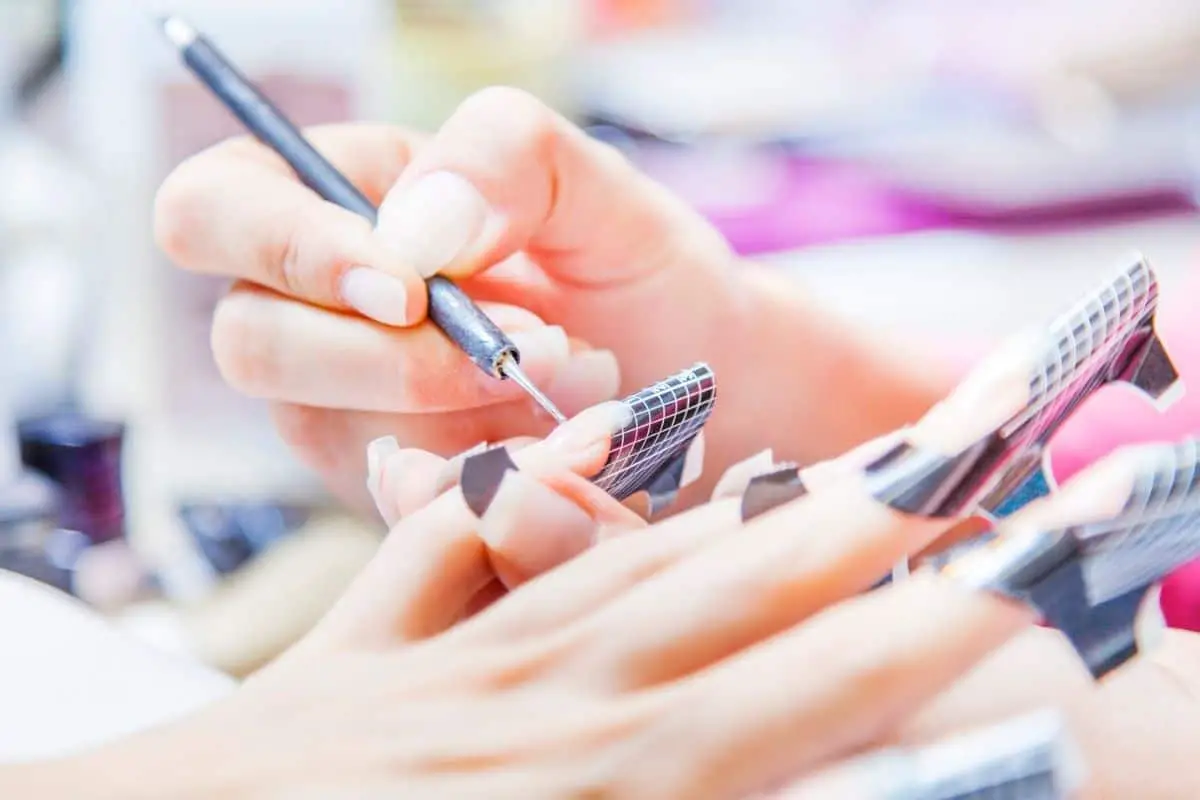
How To Apply Gel Nails
Application
This has to be the most important thing of all. No matter what nail polish, lamp, or kit you buy, if you don’t apply the manicure correctly, you will be very disappointed. To avoid all those bubbles, you first have to prep.
Now think back to when you were a teen. Many of us just put on whatever nail color we could find. Completely skipping any type of prep work, and many times skipping a base or topcoat.
This, however, can’t be the same approach we take with gel nails. Gel application can be daunting at first but with good practice, you can paint your own nails at professional quality.
Prep
To prep your nails, start by washing or simply soaking your hands in some lukewarm to warm water so your cuticles will soften. You never want to push back your cuticles without letting them soak as this can cause irritation.
This step is important because even if you do all the steps of applying your manicure correctly, avoiding this step can ruin your manicure.
Since our body produces oils it is normal to have a layer of oil on your nails. If you don’t remove the oil your polish cannot adhere properly leaving you with lifting gel nails. The gel cannot adhere to oil as easily. This may cause the gel to slide off within a few hours.
Avoiding this is very easy, just make sure to take a cuticle pusher or cutter and gently remove any excess dead skin that may get in the way of your natural nails. After doing this it is important to wash your hands with soap and water and let them dry.
Basecoat
Once your nails are completely dry it’s time to apply the basecoat. To do this apply two thin layers to your nails curing each before applying the next.
At this point, your nails are going to be rather sticky so make sure there is no dust or particles that could stick to your manicure and ruin it. When working with gel and you’re doing it yourself it may be easier to work with one hand at a time so that you do get the other hand dirty while you are in-between hands.
After you are satisfied with your 2 layers of basecoat immediately move on to your color to avoid anything sticking.
Color
This right here is the culprit of many ruined manicures.
We can all relate to wanting our manicures to be as vibrant as possible. It always looks so bright on the bottle yet so…dull when it is applied to the nails. This is why we immediately apply a thick layer of polish so that the color will be as bright as possible.
Do not fall into the trap of thinking thicker layers is the way to go. Repeat after me: “Thinner is better” If you follow that simple rule, no matter how many layers of gel you apply you will not have air bubbles as long as you properly dry them properly in-between layers.
Many polishes should not take more than 2 coats of color to achieve the look you are going for, however, sometimes you may have an opaque polish that may need 3 to 4 coats to get that color popping.
It is also important to note how long your polish needs to stay under the curing lamp during this process. Depending on what type of polish you are using you may have to extend your curing time.
One thing to note is that not all LED lamps will cure certain gel polishes, but a UV lamp can cure all gel polish including LED gel polishes. On the contrary UV lamps can take several minutes to cure polishes whereas most LED lamps will cure polishes in a minute or less. This obviously comes down to what you would like to pay, brands, and personal preference when choosing what polish, you like.
With that being said make sure you are curing your polish correctly according to what nail lamp you have.
If you don’t mind waiting a few extra minutes while using a UV lamp then that’s great, but if you plan on only using a LED lamp you have to be extra careful in buying polishes as a LED lamp will not cure all polishes further messing up your manicure.
Topcoat
As your last and final step, it is now time to apply your topcoat. This should also be applied thin and will most likely take only 2 coats. Most topcoats are a tad bit thicker than the basecoat and color so there is no need to apply it thick in any way.
If you do not “cap” your nail when applying your top coat, it will lead to lifting. “What is capping?” you may ask. When you cap your nail you not only cover the surface of your nail but also the tip as well. Applying the topcoat to the tip of your nail will ensure all of the layers are properly protected.
After all, this is what the topcoat is meant to do anyway. If you do not properly cap your nail it can result in water, dirt, oils, and anything else to wear on your nails resulting in what inevitably will be a lifted nail.
Once you have applied this last layer make sure to cure the nails for about 2 minutes. You have successfully conquered a gel manicure.
Tips And Tricks For A Professional Look
Now that you know how to properly avoid bubbles in your gel manicure it’s only right to know how to do it like an expert.
Different Methods To Dehydrating Your Nails
Alcohol
The first way to get a guaranteed last for your manicure is to wipe your nails off after you wash them with a 91% alcohol pad.
While you may have already washed your hands in soap and water to clean them you need a drying agent that can guarantee that there are no oils left on the bed of your nails.
Nail Primer and Dehydrator
Your nail primer and dehydrator are the two sidekicks you didn’t know your nail needed. I’ve provided a list of benefits for you to see how well these two works together to enhance the quality of your nails. It’s a good alternative to using alcohol wipes.
Your dehydrator and nail primer removes the moisture, grease, and debris from your nails. It provides a clean and dry surface for your paints to adhere to. Apply the dehydrator first as, between the two, it has more percentage of alcohol to help kill the bacteria in your nails.
Your skin tends to have tiny cuts and scratches that we don’t know about and it might be dangerous to keep these untreated along with having layers of polish on top. The dehydrator will clean these wounds as well as the grease while the primer will work as reinforcement while carrying out its other functions as discussed below.
Allowing paint to get into your cuticles and tiny scratches or simply not allowing a cleaning agent to remove debris before painting can cause your nails to get infected. Nail polish blocks sunlight from your nails which creates the perfect zone for bacteria to thrive. If left untreated it can cause severe damage to your nails and skin.
Some nail polishes actually carry bacteria-killing properties, however, I believe it is safest to ensure you’ve done proper degreasing before applying these products to your nails
Acetone
Acetone is another solution that evaporates quickly. Placing it on your nails will allow its moisture to mix with the acetone. Once the acetone evaporates so too will the moisture on your nails and in the surrounding area.
Nail polish remover will not work as it only has a small amount of acetone. You will need 100% acetone for it to be effective.
Cleanup
If you’re in the one percent of ambidextrous people then it is better for your nails when you’re applying. Unfortunately, we are not all gifted with this natural ability which means your dominant hand is guaranteed to be a bit messier than when you painted your other nails with your dominant hand. However, you can clean up the mess around your nails by taking a small nail brush, dipping it in acetone or alcohol, and wiping away wherever there is excess polish.
Ensure to clean any extra polish around the cuticle area and underneath your fingernails for a complete cleanup. This is important because leaving any gel polish on your skin can cause lifting and shorten the life of your manicure.
Remoisturizing Tips
While dehydrating your nails are ideal for a flawless finish to your manicure, allowing your nails to remain dry is not recommended. Use the following tips to rehydrate your nails after you have finished applying, polish, gels, or acrylics.
Cuticle Oil

Ensure you or your nail technician uses cuticle oil after your nails are finished. Cuticle oil strengthens your nails which is perfect for those who repeatedly have them painted. Nail polish and gels can make your nails brittle over time.
It is best to ensure that your nails are getting enough fortification to withstand the rigors of dehydrators, buffing, and polish every few weeks.
It will also prevent skin, cuticle, and nail infections. We already spoke about how the dehydrator kills the bacteria before you add the nail polish. However, nail polish can infect your skin and nails especially during prolonged wearing of nail paints.
Moisturizers
Ensure that you frequently moisturize your hands to help keep them hydrated, especially after washing and drying. Ensuring your skin retains its moisture will also help your nail polish to last longer. You can use hydrating products such as Shea Butters, Cocoa Butters, and Coconut Oils.
Using these will also add nutrients to your skin and fortify your nails.
Roll Polish Before Lose
You may or may not know this age-old trick but shaking the polish is something that many people swear by, however, this sometimes causes bubbles so rolling the bottle in-between your palms is a great alternative. This is done because sometimes the ingredients in the polish may separate over time and if you do not mix them before use you will be left with uneven lumpy polish and that’s just not fun.
Conclusion
You now have vast knowledge in how to fix air bubbles and how to prevent them from even happening. You also have nail care tips that will extend the life of your manicure and protect it from listing. You’re now on your way to doing your own professional set of gel nails.
Sources:
MakeupRestart.com is a participant in the Amazon Services LLC Associates Program, an affiliate advertising program designed to provide a means for sites to earn advertising fees by advertising and linking to Amazon.com. We also participate in other affiliate programs which compensate us for referring traffic.
Leave a Reply