This post contains affiliate links.
There is nothing as annoying as a thick and sticky gel nail. Especially on that day, you had set aside just to do your manicure. You want your nails to look seamless and perfectly done. The thick gel will make them look both bulgy and bulky. The million-dollar question is; What makes your gel nails look so thick?
Gel nail polish contains liquid solvents. When the polish bottle is opened, the solvents will escape leaving an emulsified suspension. The suspension is even harder, thicker, and extremely difficult to work with. Also, exposing your gel polish bottle to heat will make the gel hard and thick.
When compared to regular nail polish, gel polish is thicker in its natural condition. However, if the gel is too thick to apply, it has lost its viscosity. This is normally caused by casual errors such as loosely closed caps. The solvents in the gel are extremely heat-sensitive. Too much heat will cause them to evaporate, leaving you with an annoying dough.
You don’t want your nails to look like badly made mielie-meal that cannot hold together. Here are some of the ways to restore your gel nail polish to its natural condition. Your manicure will look seamless and perfectly made!
Table of Contents
3 Ways You Can Make Your Gel Nails Thinner
Yes, you just got this very expensive gel polish brand, but you forget to secure its cap tight the last time you used it. Perhaps you did, but you stored it near some heat. Now the whole thing is too thick, and it seems completely unusable. Here are some of the ways you can thin them back to viscosity.
1. Use Gel Polish Thinner
Gel polish thinner is formulated with solvents that are found in the gel polish in its untampered state. Add a few drops of this with an eyedropper to restore the viscosity of your gel. This solvent works by diluting the hardened gel polish. It makes it thinner than its original state and easier to use.
2. Use Acetone Drops
Adding acetone to your hardened gel polish will not make up for the evaporated solvents. However, it will make it thinner and easier to use. Use a little acetone as a last resort to maintain the integrity of your gel polish.
3. Heat the Gel Polish
This method is easy, but its viability is relative. All you need to do is to heat a bowl of water and immerse your gel polish for 3 minutes. If the gel polish is not too thick, rub the bottle between your palms to create friction.
Sometimes, your gel polish is not evenly thickened. If it contains some clumps that create an uneven application, follow these steps;
· Open your gel polish and keep it away from direct UV light.
· Add up to 10 drops of polish thinner to your polish.
· Stir the mixture for up to 3 minutes until the clumps are finely dissolved.
· Tightly close your polish bottle.
· Vigorously shake the bottle until the solution is evenly mixed.
· It’s your manicure day, but you will have to take a raincheck.
· Store your gel polish for two days in a cool, dry place.
· Two days later, sit back and do your nails.
How Thick Should Hard Gel Nails Be?
You probably hate sticky and thick gel nails. Who wants to carry 24 carats of polish in their fingers anyway? If you want to get that manicure seamless and perfect, you have to get the viscosity right.
The thickness of your gel polish will determine how fast it will cure and how soon it will lift or chip. The thicker the polish, the longer the curing time. The thicker the polish, the earlier the lifting of the gel nails! Choose the viscosity right.
What most people haven’t discovered is that the UV/LED light cannot penetrate a thick layer of gel polish. Always apply your gel polish one layer after another. And do it only when the base layer is dry. 4 thin layers are easier to cure and long-lasting than two super thick layers.
Though no one has that time to really measure the thickness of their gel nails, always aim .01 to .03 inches thick. This will help to prevent shrinkage of the gel polish and overexposure to heat during curing. It also minimizes heat built-up, which is not good for your natural nails.
4 Ways to Keep Your Gel Nails Longer
No one has that time to make trips to the salon every other week to refill their gel nails. And you will be forced to if you keep your nails unkempt and use them carelessly. If you are a woman worth her salt, you should know that your fingers are your image.
· Use thin Layers
Sometimes you can be in a hurry or tired, and you just want to get done with it. Whatever the case, never allow yourself to be seduced into swiping a thick layer of gel polish on your nails. Patience is the name of the game. Create a relaxed time when you can apply one thin layer after another.
· Keep Your Nails Dry
No matter what the brand claims to be, never immerse your freshly done gel manicure in a sea of water. Keep them dry for hours on end because these two are sworn enemies. Too much soaking in water can loosen the polish. It can also make the nails susceptible to lifting and picking
· Keep Off Files and Clippers
Sometimes you can absently play around with your clippers or files, and before you know it, you have messed up your freshly made gel nails. Sometimes you could just be studying your gel nails, and you get tempted to work on those jagged or growing edges. Just let these tools be for a minute!
· Prep Your Nails
Before you apply the gel polish, prepare your nails well. Thoroughly cleanse and remove overgrown cuticles. Puff and file them to the desired shape and size. Once you are satisfied, get to work and start with a thin layer of base coat. Layer by layer, build through your colors to the clear topcoat.
DIY gel nails are all fun and games. Especially when you know the process like the back of your hand. It is so absorbing and rewarding that you will be pleased by the transformation by the end of it all.
Conclusion
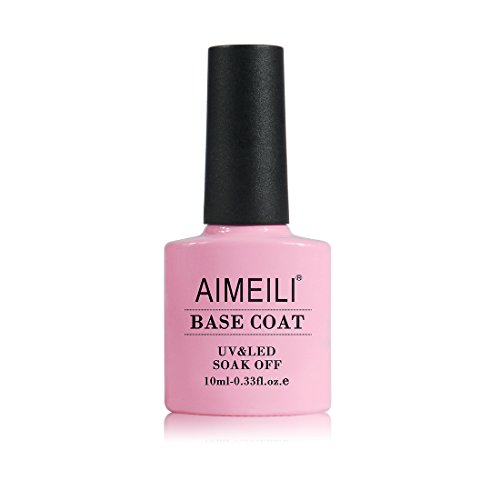
Base coat is the crème de la crème of the whole process. Never skip it! Once you make a mistake with this layer, you have messed it all. It makes the gel colors adhere well to your nails. It also acts as a protective barrier. All you need is 1 or 2 layers and you can proceed with your favorite colors.
If you want to know how to prepare your natural nails for gel polish you can read it here.
SOURCES:
MakeupRestart.com is a participant in the Amazon Services LLC Associates Program, an affiliate advertising program designed to provide a means for sites to earn advertising fees by advertising and linking to Amazon.com. We also participate in other affiliate programs which compensate us for referring traffic.


Leave a Reply