
This post contains affiliate links.
Some ladies have chosen to do their manicures at home. If you are one of those ladies, I believe that the health of your nails is imperative, no matter the place where you go for the manicure.
Just as you can improve, you can also worsen the overall condition of your nails if you don’t know what you are doing, or if you do not follow the unique recipe for the best results every technique has.
To prepare the nails for gel polish first you need to moisturize the cuticles before you file and buff the nail surface. This is because the goal is to create a rough surface for the gel polish to stick to. After filing, apply a thin layer of base coat and cure it under a lamp to prepare the nail surface for gel polish.
If you are new to this section of the beauty world, you may confuse gel polish with other techniques. In this article, I will walk you through all the basic steps and facts you need to know about gel polish and give you a few pieces of advice on how to achieve the best-looking manicure.
Table of Contents
What Is Gel Polish?
In the beginning, let me explain what gel polish is. When I first started doing my nails, I was very confused with lots of techniques I’ve encountered. What made me even more confused is that there is a difference between gel and gel polish. They may sound the same, but they are two different techniques.
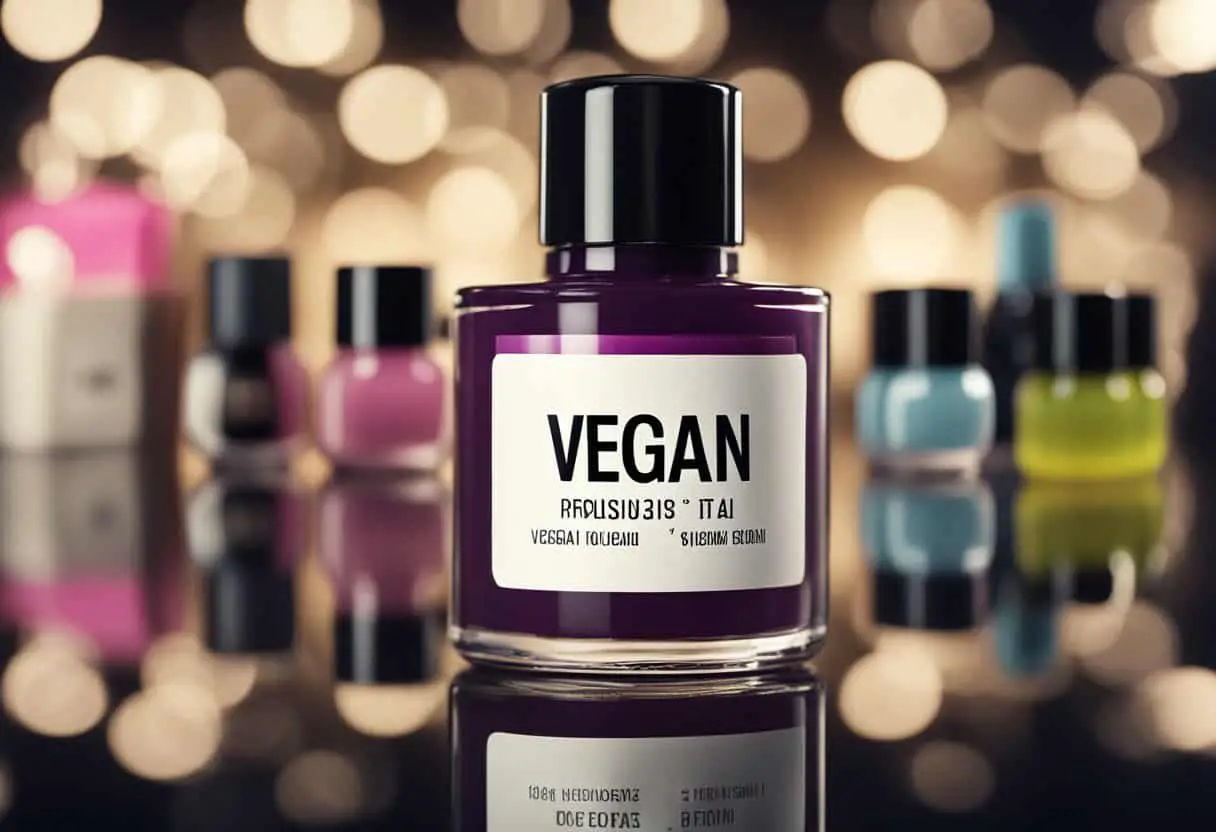
First of all, gel polish is more like regular nail polish. It comes in a liquid state and a bottle similar to the ones for regular polish. OPI is the only brand on the market that has gel polish in a jar.

Regular nail polish is air-dried, but gel polish is a gel in its core. Every gel-based product needs a UV or LED lamp to be cured. This is why gel polish would also require a UV or LED lamp to harden and set properly on the nails.
Gel polish is more durable than regular nail polish. While regular nail polish only lasts for a couple of days, gel polish can last for three to four weeks, due to the fact that it has solidified under a UV lamp.
It’s important to understand that gel polish is not an artificial nail like the one you are getting with acrylic or gel – it only acts as a reinforcement of your natural nails. Your nails are still able to grow at their own pace. The only thing you cannot do with the gel polish is extend the length of your nail, due to the nature of the product.
If you’d like to have longer nails or change the shape of the nails, you should consider other techniques like gel or acrylics. Gel polish is just a barrier between your natural nails and the environment that’s protecting the nails from damage.
Also, it is easier to remove gel polish than it is to remove other types of artificial nails. This is because gel polish will not leave a thick layer of polish on your nails, and this is what makes the acetone work faster.
Here you can read more about gel nails.
How to Prepare the Nails for Gel Polish?
Before you start applying the gel polish itself, you must prepare your nails correctly. Just like with any other technique, preparation is the key. First, you need to remove any nail polish, gel, or acrylics you might have already on your nails.
After this, make sure to use acetone or alcohol to remove any residual oils and dirt from the nails. This is important because you are creating a clean surface for the nail polish to stick to.
Before application, one more thing you need to do is to cut and file your nails. You need to form a shape you would like to have now, because later on during the process the shape or length cannot be changed.
")
Also, make sure that you push back the cuticles so that you are utilizing the nail surface to the maximum. If the cuticles are dried up and in a bad condition, apply oil and let it soak for a few minutes before you start with applying the gel nail polish.
During filing and buffing, the main goal is to remove any shine from the nails and to create a rough surface so the gel polish can stick to it. Make sure that you are gentle with the nail file and that you don’t over-file the nails.
Over-filing can cause problems – first of all, you will damage your natural nails, so a burning sensation may appear, and you could feel pain while doing even simple tasks like typing. Second, if the nails are over-filed, the gel polish may not stick properly. Over-filed nails can cause the gel polish to layer and fall off the nails.
When you finish filing and buffing, it is time to clean the dust from the nails by using alcohol or acetone. Pro tip – if you are using acetone, make sure that you’re avoiding the cuticles, so you don’t cause their dehydration any further.
What Do You Put under Gel Polish?
The whole point of this cleaning phase is to prepare the nails for what comes next – a base coat. While the use of a base coat is optional when you are applying regular nail polish, when you use gel nail polish, a base coat is a must.
The base coat has one very important role – it creates a bond between your natural nails and the gel nail polish. Without a base coat, the gel polish would not adhere to the natural surface of the nails and the manicure would not last very long.
To properly apply a base coat, make sure to cover the whole surface of the nails. Try to get as close as you can to the cuticles, but make sure you don’t paint the base coat on them as well. Even if you do it by accident, make sure to remove it straight away.
Not removing the base coat from the cuticles may cause the manicure to layer off and chip off very soon after you finish the treatment, so just be extra careful here. And it will also damage your skin when the base coat is cured under a UV or LED lamp.
If you want to have a long-lasting gel polish manicure, I have one more piece of advice for you – make sure you paint the tip of your nails with a base coat as well. This will seal off the gel polish perfectly in place.
You can use any base coat for gel polish, but you can achieve the best results if you use a base coat that comes from the same brand as the gel polish you are using. This is because the manufacturers are usually creating and optimizing the base coat according to their gel polish formulation.
A base coat needs to be cured under a UV or LED lamp of your choice. If you are using a LED lamp (which is known to be faster) you need around 30 seconds for the base coat to cure. If you have a UV lamp, one minute is usually enough for the base to harden.

Is a Top Coat a Must?
After you finish with the base coat, it is time to apply the gel polish itself. Carefully paint the gel polish in the same manner as you did with the base coat, avoiding cuticles. The gel polish needs a little bit more time to cure under the light, so around 60 seconds under LED or 120 seconds under a UV lamp should be enough.
If the color you’ve chosen is very light or opaque, you will need to paint more than one layer of gel polish. Apply another layer and cure it under a lamp. If you are still not satisfied with the color, repeat the process until you get the color density you want.
As the last step, you would need to apply a top coat. Using a top coat is not optional, just like the base coat, because it has properties that will ensure the duration of your manicure. Other than duration, the top coat will provide that extra shine you want to last.
Another option here is to apply a matte top coat. Matte top coats were very trendy for a while, and even today some women still like to use them. A combination of one or two nails painted with a matte coat, while the rest are shiny is a new rising hit these days.
With a matte top coat, you can also create interesting shapes and contrast on your nails, but this can only be done by a skilled professional in a nail salon. If you are new to this, it is better not to experiment, because the chances you will ruin your manicure are very high.
The top coat needs to be cured under a lamp, just as any other layer so far. After 60 seconds you are good to go. But, after this time you may notice that your nails are still sticky. Don’t panic because this is normal.
The sticky layer that remains after you finish the gel polish application is easily removed with alcohol wipes. Make sure you are using wipes with a high percentage of alcohol or just a cotton pad soaked in alcohol. Don’t worry, this will not ruin your manicure, it will just enhance it on the contrary.
If this tacky layer is bothering you, when you go shopping for a top coat, make sure you find one with a “no wipe top coat” remark. This type of top coat will not leave the sticky layer after curing in a lamp, so you can eliminate the usage of alcohol wipes after applying the top coat.
As a final step, you should proceed to aftercare of your nails by applying a cuticle oil, to moisturize your nails and give them that extra care they need.

How to Remove Gel Polish?
The most damage to your natural nails can happen while you try to remove the gel polish from your nails. Although I know it may seem tempting, especially when they start to lift off by themselves, do not tear them off.
Tearing the gel polish may cause damage to your natural nails, so they can become weak and they can also start to layer. If this happens, there is no going back – the only cure is for the nails to grow so you can chop off the damaged bit by bit.
To prepare your nails for the acetone bath, start with moisturizing your cuticles. The best moisturizer to use is cuticle oil because its formulation will lock the moisture and prevent it all from drying up in contact with acetone.
Leave the oil for a few minutes to allow the cuticles to soak it in. Then use a nail file to remove the top layer and reduce the thickness that needs to be degraded in the acetone. This will speed up the process and allow the acetone to work faster.
Make sure you are not applying too much pressure. After all, the gel polish is considerably thinner than gel or acrylics, so it is very easy to overstep and over-file the nails and damage the natural nails as a result.
When you remove the top layer, prepare the acetone and aluminum foil. Use a cotton pad to apply the acetone to your nails (do it very generously), and then wrap your nails in aluminum. Aluminum foil will lock the heat and speed up the process, so the nail polish would come off faster.
Hold the foil for around 15 minutes on your nails. If the nail polish is not coming off easily from the nails after 15 minutes, repeat the process and hold the foil for another five to seven minutes. Never try to remove the gel nail polish forcefully.
After additional time in the aluminum, the gel polish should come off easily. Use a metal scraper or a wooden stick to gently remove any excess gel nail polish that might have stayed on the nails.
Another method you could use to remove the gel polish is to buy those acetone jars you can find in any well-equipped drugstore. The concept behind them is to put your finger inside and twist for a few minutes or until the gel nail polish comes off.
These jars have a sponge soaked in acetone inside and their producers claim this is the easiest way to remove the gel polish. Although I have tried it, I must say that the quality of this product depends on the manufacturer and that it takes considerably more time to remove the nail polish than it takes with using the foil method.
Another remark I might have is that after two or three uses, the sponge inside the bottle becomes colored, and the acetone feels like it has evaporated a little bit. Again, I’m saying that this depends on the manufacturer and the quality.
There is one more method I tried, and for this one, you will need one large and one small bowl. Fill the large bowl with hot water, and the small one with acetone. Place the smaller one into the large bowl and give it a few minutes for acetone to heat up.
 Acetone Labeled Liquid Push Down Pump Dispenser Empty Bottle (Teal)")
Now soak your fingers into the small bowl and wait for 10 to 15 minutes. To be honest I was really surprised that this worked. Not only did the gel polish come off in less than 10 minutes, everything came off! I didn’t have to use the metal scraper of the wooden stick to remove any residue because there wasn’t any.
No matter what method you have used, after you finish with the acetone, be generous with the cream, oil, or any other moisturizer you are using. Like this, you will restore lost hydration and prepare your nails for a new set of a manicure.
Sources:
- http://www.whatthegelnails.com/how-to-do-gel-nails-at-home/
- https://www.self.com/story/how-to-remove-gel-nail-polish
- https://www.today.com/style/how-take-gel-nails-home-remove-gel-manicure-trick-t108143
- https://www.teenvogue.com/story/gel-manicures
MakeupRestart.com is a participant in the Amazon Services LLC Associates Program, an affiliate advertising program designed to provide a means for sites to earn advertising fees by advertising and linking to Amazon.com. We also participate in other affiliate programs which compensate us for referring traffic.
Leave a Reply