This post contains affiliate links.
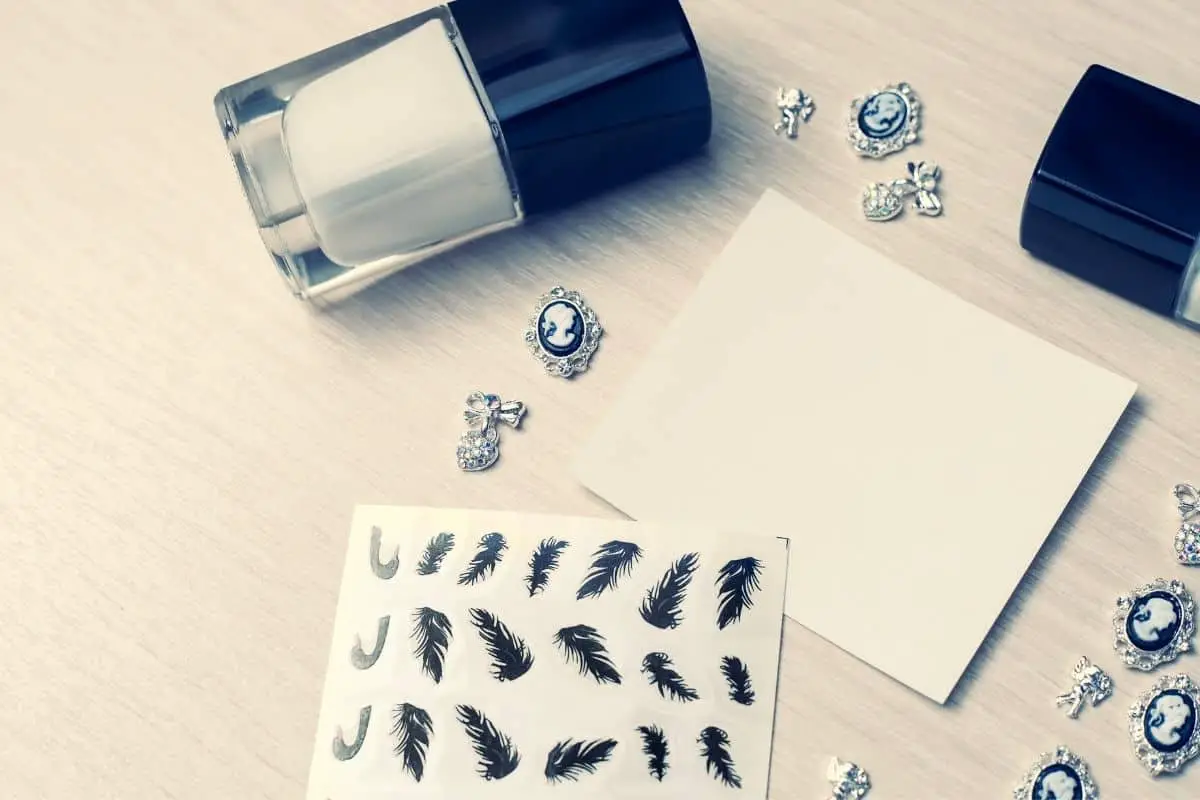
Creating stunning nail decals is much simpler than it appears, with endless potential for unique and flawless designs. Many enthusiasts have started using Cricut for nail decals, and it’s easy to find a ton of inspiration for your upcoming styles.
Cut and weed the chosen shapes or patterns using Cricut, and apply transfer tape. Position the decals on dry painted nails, and apply plenty of pressure until it sticks on well. Gently peel off the transfer tape to reveal the design, and finish off the look with a clear coat.
While it’s a straightforward process, there’s still plenty of factors to consider. Join us as we discuss how to make nail decals with Cricut, and what to be aware of to make sure your nail art looks clean, chic, and eye-catching.
Table of Contents
What Kind of Vinyl is used for Nail Decals?
Using 651 permanent outdoor vinyl is a great option for nail decals, as it has a stronger adhesive that will help your look last longer. It’s unbelievably frustrating to spend hours on your nails, only to discover that decals are peeling at the edges after a day of flaunting them.
")
The kind of vinyl you use will have a massive impact on your nail decals’ aesthetic appearance and longevity. There will still be some steps for making sure they stay on and retain their appearance, but it’s best to start with the most suitable vinyl for the best results.
How to Make Nail Decals with Cricut
Making nail decals with Cricut is quite straightforward, but it will still take plenty of practice and patience to get the outcome just right. So, don’t be disheartened if your first attempts don’t look as professional as you’d hoped – just have plenty of nail polish remover handy and keep trying!
Decal Methods
By now, you may have come across some insanely complex and breathtaking nail art designs online. There are quite a few ways to use Cricut to make nail decals, but the two primary methods include using the vinyl shapes as decals or using them as a pattern for the full nail.
The possibilities are endless, as you can adorn your nails with delicate shapes or interesting patterns, topped with wonderful color shades. If this is your first time doing nail decals with Cricut, keep it simple. While ornamental designs are undoubtedly tempting, you shouldn’t put too much pressure on yourself and should still be able to have fun!
Resource Planning
To start off, find a design that you like, and plan out your resources. Make sure you have a suitable cutting mat, the amount of vinyl needed (with extra vinyl in case of mistakes), nail polish of choice, a clear coat, and enough nail polish remover. You’ll benefit from extra tools such as tweezers, and a manicure set will be super useful for making the end product look professional.

Vinyl and Decal Prepping
You’ll need to cut your vinyl to size and place it on a cutting mat. Decals are really small, so you can make use of any vinyl scraps as well. The mat should be non-slip and should be slightly sticky, so the vinyl doesn’t move around while you’re busy. You’ll then need to cut your chosen design – the vinyl setting on a Cricut works well for nail decals.
Use your nails’ measurements to figure out how big your decals should be. A measurement of around 0.25 x 0.35 inches works well for most adults, while 0.20 x 0.22 inches works well for most children. If you’re going for a pattern style, the decal should be larger than your nail.
When you weed your design, you may gain an advantage by using a lightbox. This will allow you to weed tiny details, so your design really stands out. Cut out the design from the vinyl sheet and apply a transfer tape.
Applying the Vinyl
Paint your nails with the base color. It’s much simpler to choose one or two colors to begin with, especially if you haven’t had much practice yet. Your nails will need to be completely dry, and the nail polish should be fully hardened.
If it’s not, applying the vinyl can become quite messy since it may slip around or create unsightly blemishes. Apply lots of pressure to the decal. Once the decal appears to be stuck to your nail well, peel up the transfer paper. You can use tweezers to help this process.

- Using Vinyl as Decals and Patterns
Apply the solid shapes where you’d like them to be if they’re small and solid. If you’re going for a patterned look, place the decal over your nails and press it down, so it’s completely smooth and even. Trim off the excess vinyl, and press down around the edges of your nail.
- Using Vinyl as Stencils
While it is more complex, vinyl decals can also be used as stencils. If you’re opting for a stencil look, place the vinyl in the position you’d like on your nail, with plenty of excess around the edges.
Paint your alternate color of choice over the vinyl, ensuring that the second layer is relatively thin. Thick second coats can create bulk and may result in a raised look once the vinyl is removed, or it may not turn out clean and neat. Peel off the vinyl slowly and steadily, pulling it away from your nail.
Trimming is unnecessary for stencil styles, and a decent amount of excess makes it easier to remover properly. Using vinyl as stencils will take some skill, as it can be easy to smudge or ruin the look while removing the vinyl. But, practice makes perfect, and it’ll be quite simple once you’ve got the hang of it.
Finishing
Now for the most important part – finishing! You would have gone through a ton of effort to achieve the desired outcome by this point, so you want to make sure your look lasts as long as possible. Make sure your nails are completely dry, and the decal has set in nicely before finishing.
Apply a clear coat to finish off your design. If you’re unsure or feel like you want to try another design soon, rather go for a normal clear coat. It still protects your decals and polish for a decent timeframe and is much easier to remove than gel polish. If you’re in love with your creation and have some gel coat handy, go for it! Gel coats will protect the design for much longer, but either option will work just fine.
Standard clear coat lasts around four days on average, while gel can last 1 – 2 weeks. If you only have a clear coat but still want to extend the lifespan of your nail decals, you can apply a fresh coat daily.

While browsing nail art and decal designs can seem intimidating, it can be quite straightforward and fun with the right tools and approaches. No one gets it perfect on the first try, so give it a go! You may just discover a new therapeutic hobby that keeps you looking and feeling great.
Here you can read how to make decals with a stamper.
Sources
- Craftables: DIY Nail Decals with Vinyl + free downloads!
- SEARCH SILHOUETTE SCHOOL: VINYL NAIL DECAL TIPS AND SIZING GUIDELINES: SILHOUETTE TUTORIAL
- Abbi Kirsten Collections: Easy Nail Art Decals with your Cricut
MakeupRestart.com is a participant in the Amazon Services LLC Associates Program, an affiliate advertising program designed to provide a means for sites to earn advertising fees by advertising and linking to Amazon.com. We also participate in other affiliate programs which compensate us for referring traffic.
Leave a Reply